iOS Platform
文档用途
记录使用 Unity 做 iOS 平台开发时的常用操作和和注意事项.
构建和上传
详见 外部命令行工具 - XCode 文档.
Apple 开发者证书
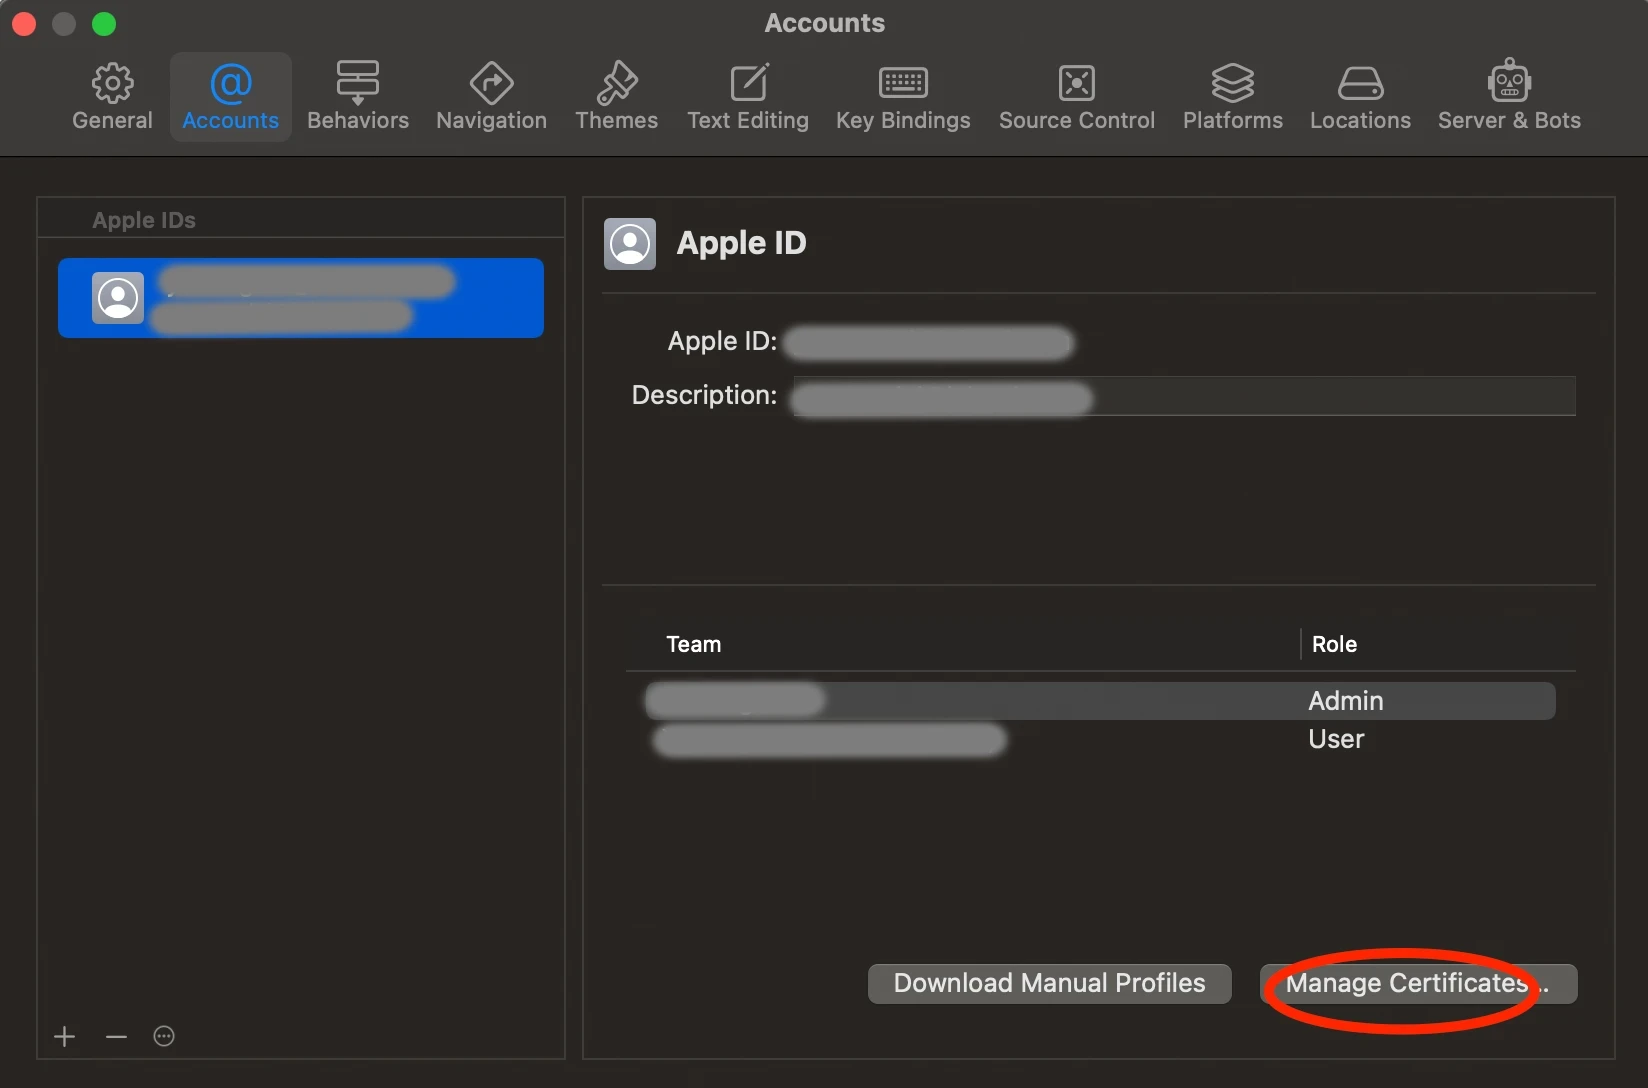
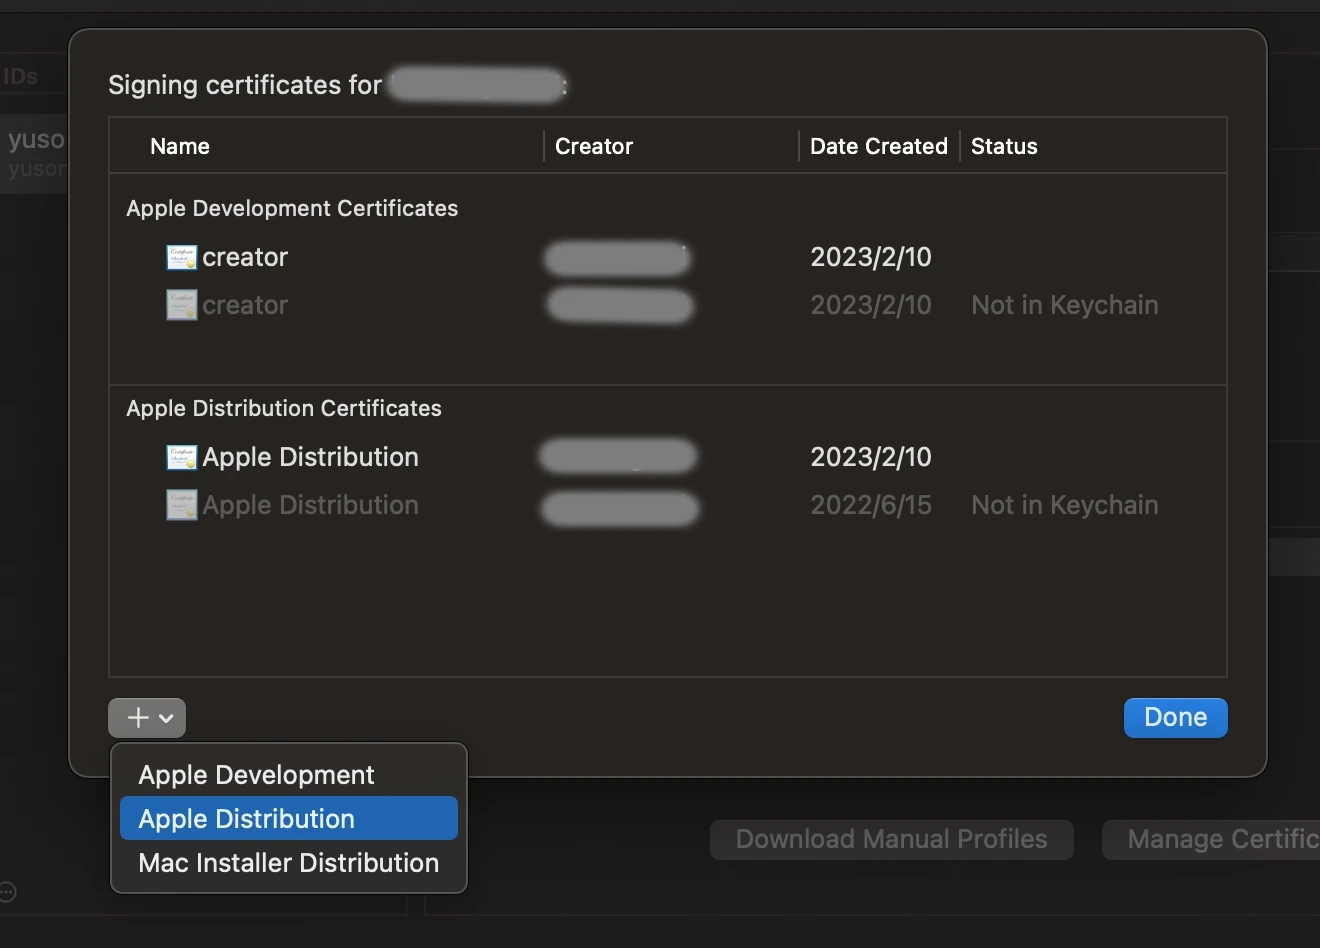
可以直接在 Xcode Preference 中申请新的证书并安装到本地.
Apple Unity Plugins
INFO
apple/unityplugins 是由 Apple 开发的 Unity 插件, 封装了多个 iOS 平台原生的 SDK.
例如可以通过此插件完成很多原本只能在 XCode 工程中才能完成的配置,
还可以方便的集成 Game Center, Haptics Engine, Accessibility, Game Controller 等等.
构建 Unity Package
前提条件:
- 需要安装 Unity 2020.3.33f1 (不能是中国特供版).
- 安装 Unity 时应添加
iOS Build Support(之后只需要面向 iOS 平台构建). - 需要在 Unity 工程中添加
Test Frameworkpackage, 因为这些 package 对其存在依赖. - 需要在操作系统中安装好
Python3,npm,Xcode. - 只能在 macOS 系统中执行
build.py脚本.
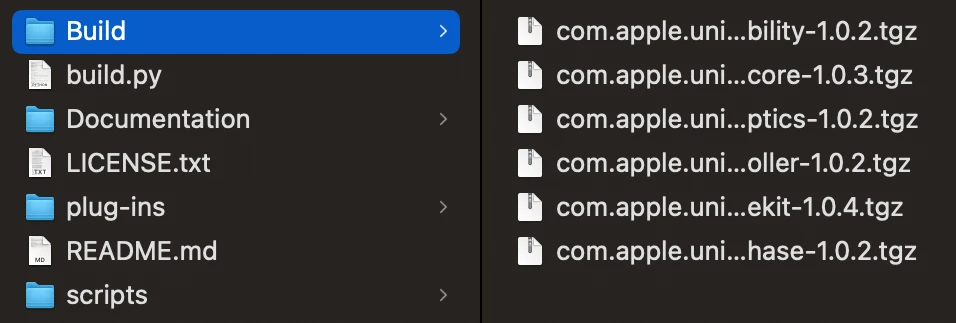
构建 package 的命令:
git clone https://github.com/apple/unityplugins.git
cd unityplugins
python3 build.py -m iOS -u /Applications/Unity/Hub/Editor/2020.3.33f1
构架完成后, 可以得到下图中的压缩包:
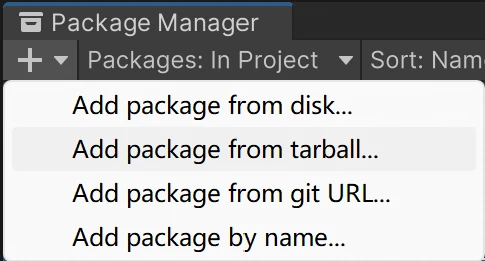
按需添加 Package
可以在 Unity Package Manager 中添加构建得到的压缩包.
点击窗口左上角的 +, 然后选择 add package from tarball....
WARNING
通过压缩包添加 package 的方案有个问题: 不方便对 package 做修改.
笔者在使用 apple/unityplugins 时, 遇到了几个需要做修改的地方.
因此 不建议 通过压缩包添加构建好的 package.
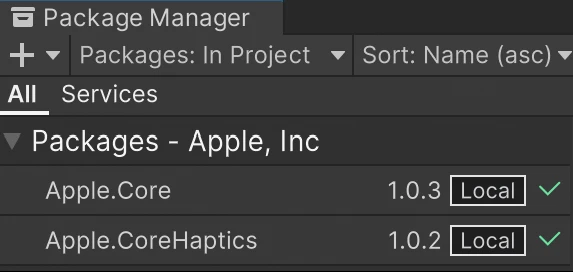
推荐的方案是: 将需要添加的 package 解压缩, 然后复制到工程的 ./Packages/Local/ 路径下.
然后点击 Package Manager 左上角的 +, 选择 Add package from disk...,
最后打开刚刚复制的 package 路径内的 package.json 文件. 效果如下:
XCode 错误笔记
Session Expired
如果遇到此错误:
Error Domain=DVTPortalServiceErrorDomain Code=1100 "Your session has expired. Please log in."解决方案
- Remove the account via Xcode's preferences
- Quit Xcode
- In terminal, set the preference to not use the keychain service:
defaults write com.apple.dt.Xcode DVTDeveloperAccountUseKeychainService_2 -bool NO- Re-open Xcode and re-add the account
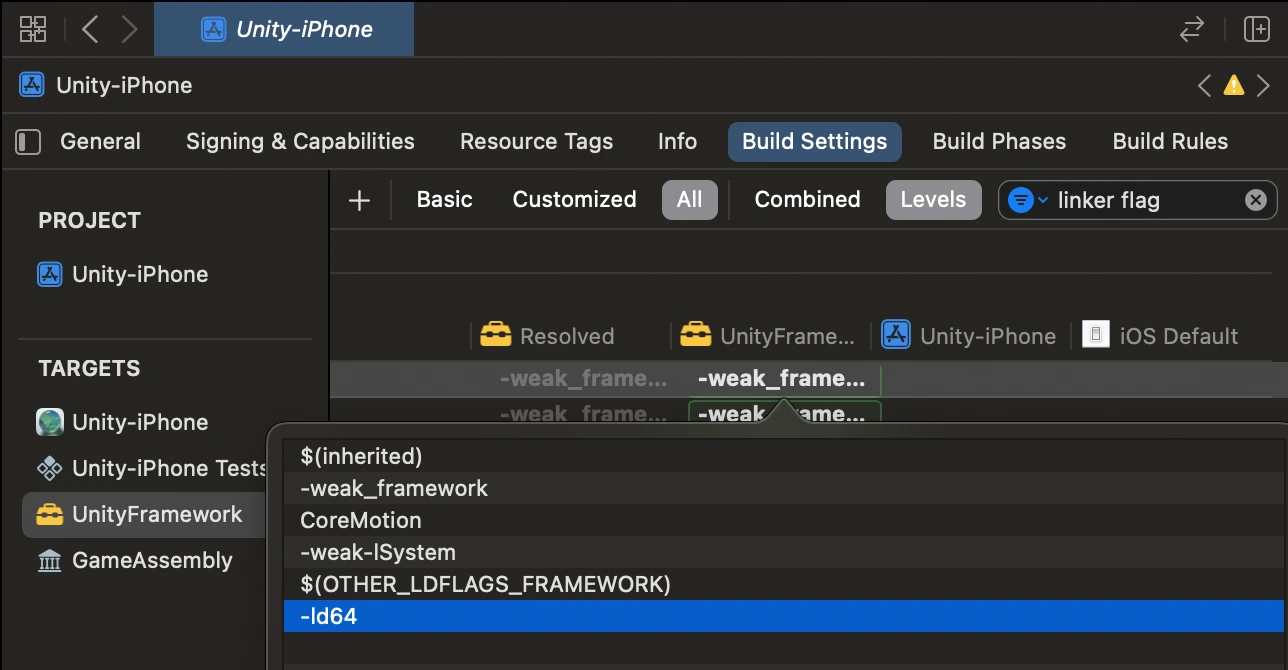
B/BL out of range
如果遇到此错误:
ld: B/BL out of range 148223680 (max +/-128MB) to 'xxx'解决方案
参考链接: https://stackoverflow.com/a/77172408/14722840
TARGETS --> Build Settings --> Other Linker Flags --> add -ld64
通过 C# 代码, 在导出 XCode 工程的同时, 修改编译设置:
static void AddOtherLinkerFlags(BuildReport report)
{
    if (report.summary.platform is not BuildTarget.iOS) return;

    string projectPath = report.summary.outputPath + "/Unity-iPhone.xcodeproj/project.pbxproj";
    PBXProject pbxProject = new();
    pbxProject.ReadFromFile(projectPath);

    // UnityFramework
    string target = pbxProject.GetUnityFrameworkTargetGuid();
    // 用于解决 XCode 编译错误 "B/BL out of range xxx (max +/-128MB)"
    pbxProject.AddBuildProperty(target, "OTHER_LDFLAGS", "-ld64");

    pbxProject.WriteToFile(projectPath);
}
ARM64 out of range
如果遇到此错误:
ARM64 branch out of range (max is +/-128MB)解决方案
export IL2CPP_CONFIG_PATH=$XCODE_PROJECT_PATH/Il2CppOutputProject/IL2CPP/libil2cpp/os/c-api/il2cpp-config-platforms.h
echo "为了修复 ARM64 branch out of range (max is +/-128MB) 问题, 新增一行代码:"
sed -i '' '1s/^/#define IL2CPP_LARGE_EXECUTABLE_ARM_WORKAROUND 1\n/' $IL2CPP_CONFIG_PATH
Failed to log in
通过命令行上传 iOS 版本至 App Store Connect 的时候偶尔会失败.
命令行的报错一般是 "failed log in ..." 之类的, 例如下面这个错误日志:
error: exportArchive: Failed to log in.

Error Domain=IDEDistributionErrorDomain Code=10 "Failed to log in." UserInfo={IDEDistributionErrorsAccountIssues=(
    "Account \"yusong.lai@icloud.com\": Failed to log in"
), NSLocalizedDescription=Failed to log in., NSLocalizedRecoverySuggestion=App Store Connect access for "xxx" is required. Ensure that your Apple ID account usernames and passwords are correct in the Accounts preference pane.}
INFO
详见苹果开发者论坛的帖子:
Using Automatic Code Signing from the Command Line via SSH Session.
解决方案:
- 打开 Xcode 并移除已经登录的账户.
- 关闭 Xcode.
- 在命令行中输入以下命令:
defaults write com.apple.dt.Xcode DVTDeveloperAccountUseKeychainService_2 -bool NO - 重新打开 Xcode 并添加账户.
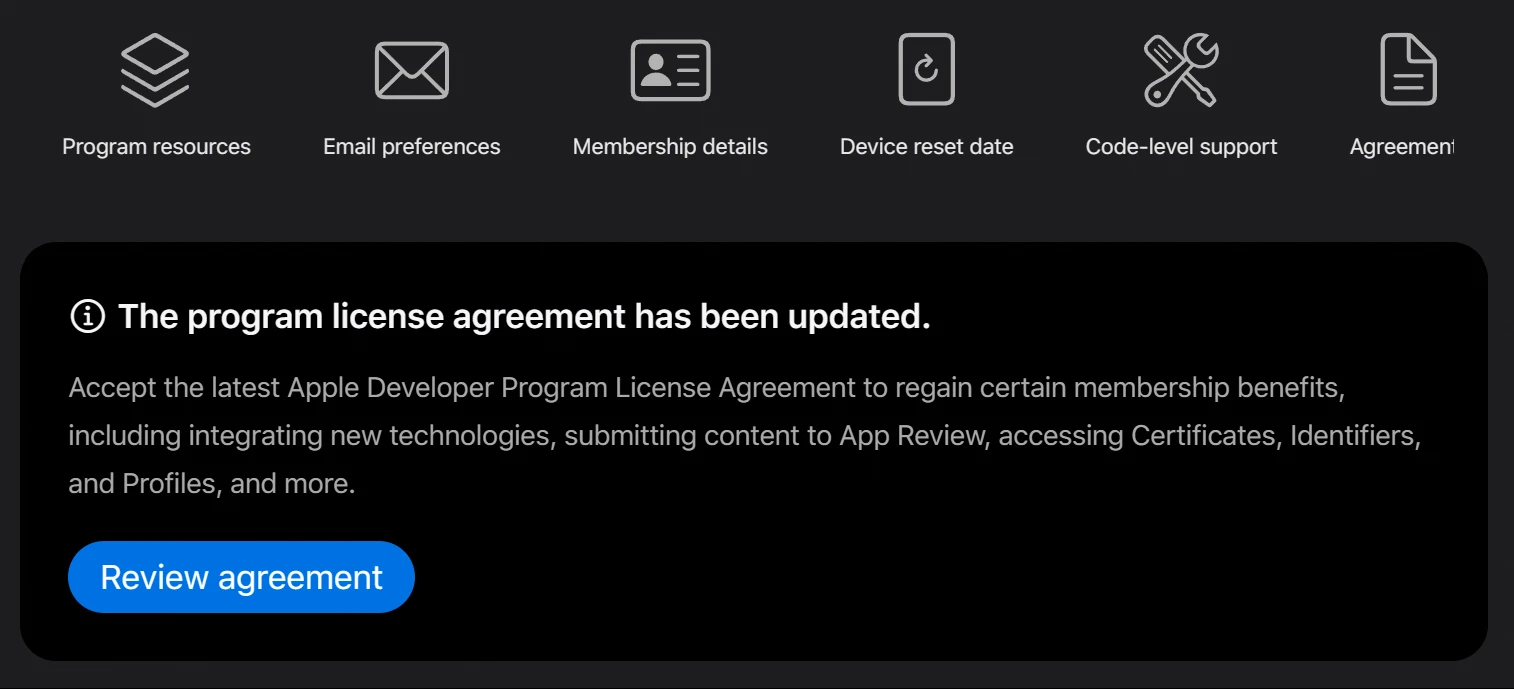
Requited contracts
上传 App Store Connect 时可能会遇到如下报错:
You do not have required contracts to perform an operation.这是因为有一些 Apple 开发者政策更新, 解决方案:
主账号管理员登陆 developer.apple.com, 然后 Review agreement.
Provisioning profile
更新证书后, 在构建时可能会遇到以下错误:
error: Provisioning profile "iOS Team Provisioning Profile: com.xxx.xxx" doesn't include signing certificate "Apple Development: xxx (XXXXXXXXXX)".更新证书后, 在上传时可能会遇到以下错误:
error: exportArchive: Provisioning profile "iOS Team Store Provisioning Profile: com.xxx.xxx" doesn't include signing certificate "Apple Distribution: xxx (XXXXXXXXXX)".无论是上传时的错误, 还是构建时的错误, 都可以通过相同的办法解决:
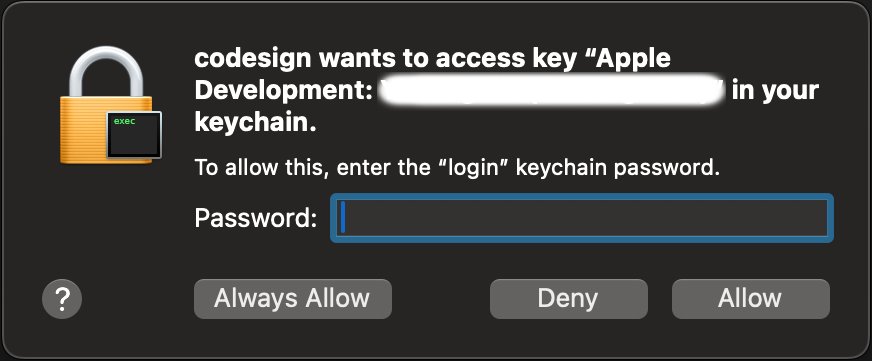
使用 XCode 的 UI 界面, 手动构建并上传至 App Store Connect.
在这个过程中, 会多次出现类似于下图的弹窗:
此时应输入 macOS 当前用户的密码 (锁屏密码) 并点击 Always Allow 按钮.